Cloud Folders#
Cloud folders are flexible storage spaces that let you share media and important files with other Blackmagic Cloud users. You can upload media directly to a cloud folder from your computer, a Blackmagic Camera or the Blackmagic Camera App, plus sync and manage cloud folders via an optional Blackmagic Cloud Store.
For information on syncing cloud folders to Blackmagic Cloud Store, refer to the Blackmagic Cloud Store manual.
Creating a Cloud Folder#
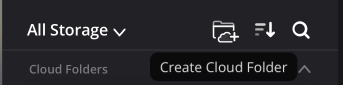
To create a cloud folder, click the 'create cloud folder' icon next to the 'storage menu' in the left sidebar.
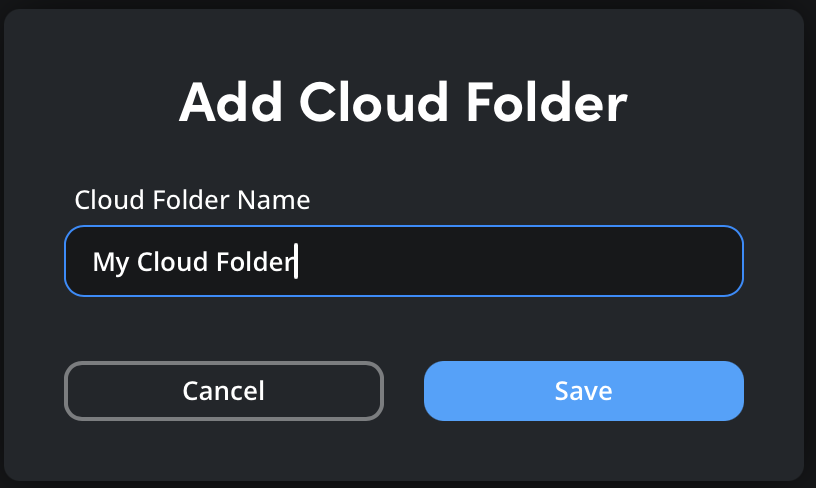
In the 'name cloud folder' dialogue box, give your cloud folder a name and click 'save'.
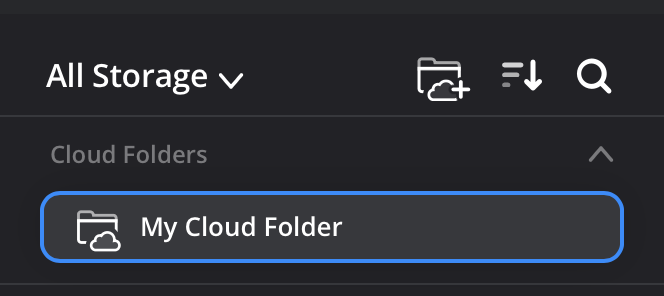
Your Cloud folder will be created and appear under 'cloud folders' in the storage menu.
Uploading#
You can upload files from your computer to your personal cloud storage folder, to cloud folders that you have created, and to cloud folders that have been shared with you.
You can only upload to cloud folders that have been shared with you if you have been given read and write or administrator access by the owner or an administrator of the shared folder. You can learn more about the different types of folder permissions later in this section.
To upload:
- Select your personal storage folder or a cloud folder from the left sidebar panel. The contents of the folder will be displayed in the media viewer. If you want to upload to a folder within the main cloud storage folder, double click the folder to open it.
-
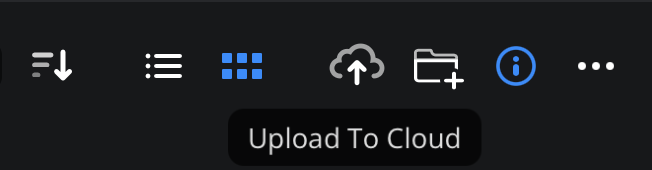
In the media viewer toolbar, click the 'upload to cloud' icon.
-
In the upload window, navigate to the file on your computer that you want to upload and click the 'upload' button.

-
Your upload will begin. A progress indicator will be displayed at the bottom right of the media viewer to show the progress of each upload. If you want to cancel an upload, click the 'x' icon next to the file name.

If you want to select multiple files to upload, hold down the ‘shift’ key on your computer’s keyboard and click to select your files.
Sharing Cloud Folders#
Cloud folders and their contents that you have created, or have administrator permissions to, can be shared with other Blackmagic Cloud users.
To share a folder:
- Select a cloud folder from the left sidebar. If you want to share a sub folder or a single file, select it in the media viewer.
- Click the 'information' icon in the cloud storage toolbar to open the information pane.
-
Click the 'sharing' tab at the top of the information pane. You will see a list of users who have access to the cloud folder. To add a user, click the 'sharing settings' button.

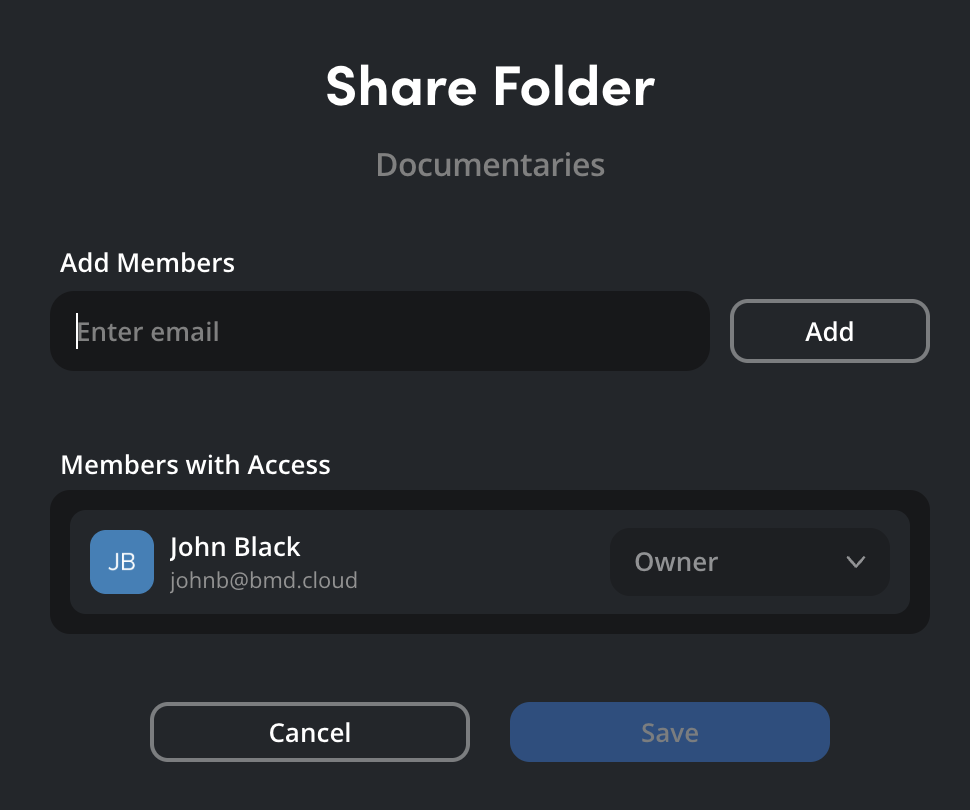
- In the 'share settings' window, enter the email address of the person that you want to invite to the cloud folder in the 'add members' field. If you want to add more than one member, you can add multiple email addresses by pressing 'return' on your keyboard or by separating each email address by a comma. Click 'add'.
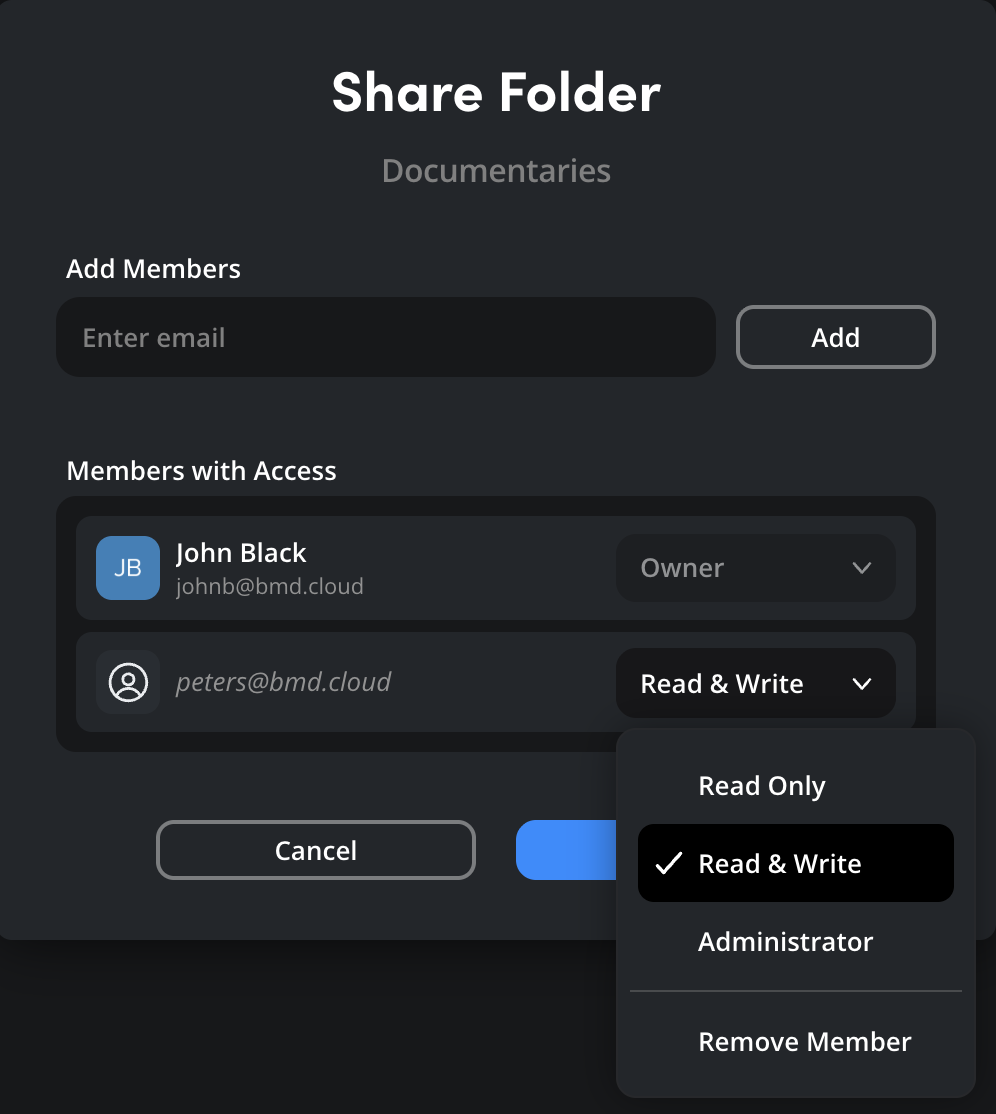
- The invited members will be added to the 'members with access' panel in the 'share folder' window. By default, invited members are given 'read only' permissions, you can choose to change this to 'read & write' or 'administrator' before you click 'save'. For more information on folder permissions, see the next section of this guide.
You can also share a cloud folder with a Blackmagic Cloud ‘group’. More information on creating a ‘group’ is provided in the ‘organizations’ section of this guide.
When you click ‘send’ an email invitation will be sent to the added members.
If the person you are sharing a folder with doesn’t already have a Blackmagic Cloud account, they will be sent an email prompting them to create one when you invite them to a shared folder.
Cloud Folder Permissions#
When you create a cloud folder, you are automatically assigned as the owner, this gives you full control over the folder and any files and sub folders.
You can assign a user’s cloud folder permissions when you invite them to a folder, or change permissions at any time by opening the ‘sharing settings’ window from the ‘sharing’ tab in the information window. Select a permission level and click ‘save’, the new permissions will take effect straight away.
The table below explains the three levels of permissions:
| Permission Level | Description |
|---|---|
| Read Only | Members with ‘read only’ access can view files and folders within the shared cloud Folder. They can also download the contents of a shared folder to their computer. |
| Read & Write | In addition to read permissions, members with ‘read & write’ permissions can upload files and create folders within a shared Cloud folder. They can also rename, copy, move and send files or folders to the trash. |
| Administrator | In addition to read & write permissions, assigning a member as an administrator lets them add and remove members, plus assign permissions. |
Confirming Access to a Cloud Folder#
When you invite someone to a cloud folder they will receive an email that contains a link to accept the invite. They will also receive a notification the next time they log in to their Blackmagic Cloud Account.
You can check which members have accepted an invitation in the ‘sharing’ tab of the ‘information’ pane. If a member’s name and email address are in italics, it means that member has not yet accepted the invite.
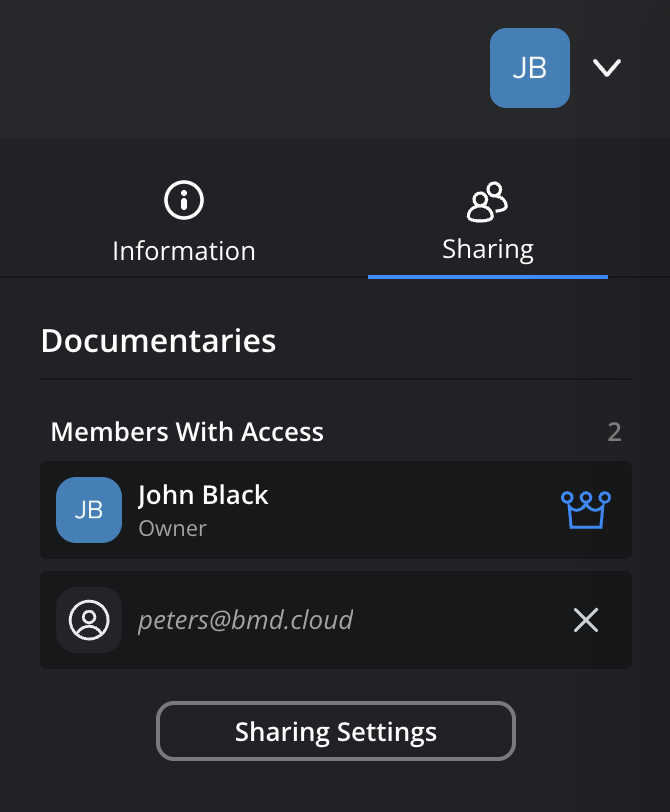
Once an invite has been accepted, the member’s name will be displayed in bold, their permission level will also be displayed.
Removing Access to a Cloud Folder#
If you are the owner or an administrator of a cloud folder, you can remove a member’s access by clicking on the ‘x’ icon next to their name in the ‘sharing’ tab.
You’ll be asked to confirm your choice, click ‘remove’ to continue. The member’s folder access will be removed immediately.
If you have previously shared sub folders within a shared folder with a user who has been removed, they will retain access to the sub folders.
Managing the Trash#
When a file or folder within a cloud folder is sent to the trash by a member with administrator or read & write permissions, it will only be visible to the owner of the cloud folder. This means that only the cloud folder’s owner can permanently delete or restore items from the trash.
Connecting to DaVinci Resolve#
You can connect to a Blackmagic Cloud Folder in DaVinci Resolve and sync media directly into your DaVinci Resolve project. This means you can connect to one or more cloud folders and choose the media you want to download, making cloud folders ideal for sharing media assets that aren’t tied to a particular DaVinci Resolve project. For example, you can share assets such as title sequences, credits and GVs that might be used over multiple episodes of a TV series.
To add a Blackmagic Cloud Folder to your Project:
- Open the DaVinci Resolve project that you want to add your cloud folder to.
-
Click the 'import Blackmagic Cloud Folder' icon at the top of the media pool in any page.

-
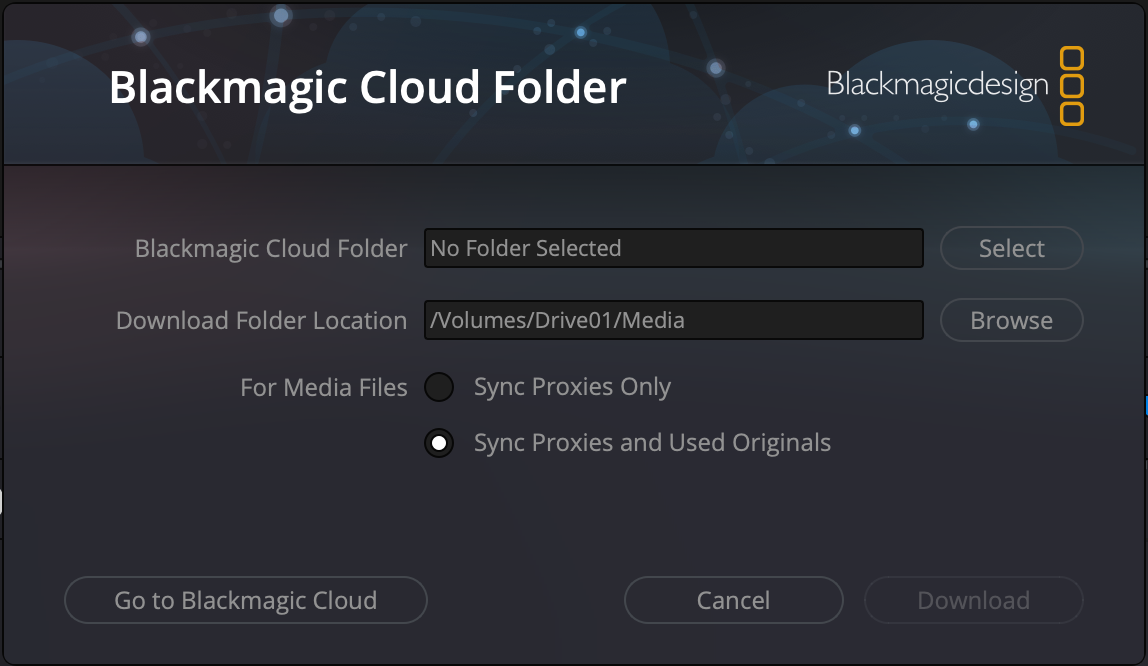
A 'Blackmagic Cloud Folder' window will open. To select a cloud folder, click the 'select' button next to the 'Blackmagic Cloud Folder' field.
-
In the Blackmagic Cloud Folder window, click the 'browse' button and choose a location on your system to store the media files from the Blackmagic Cloud Folder.
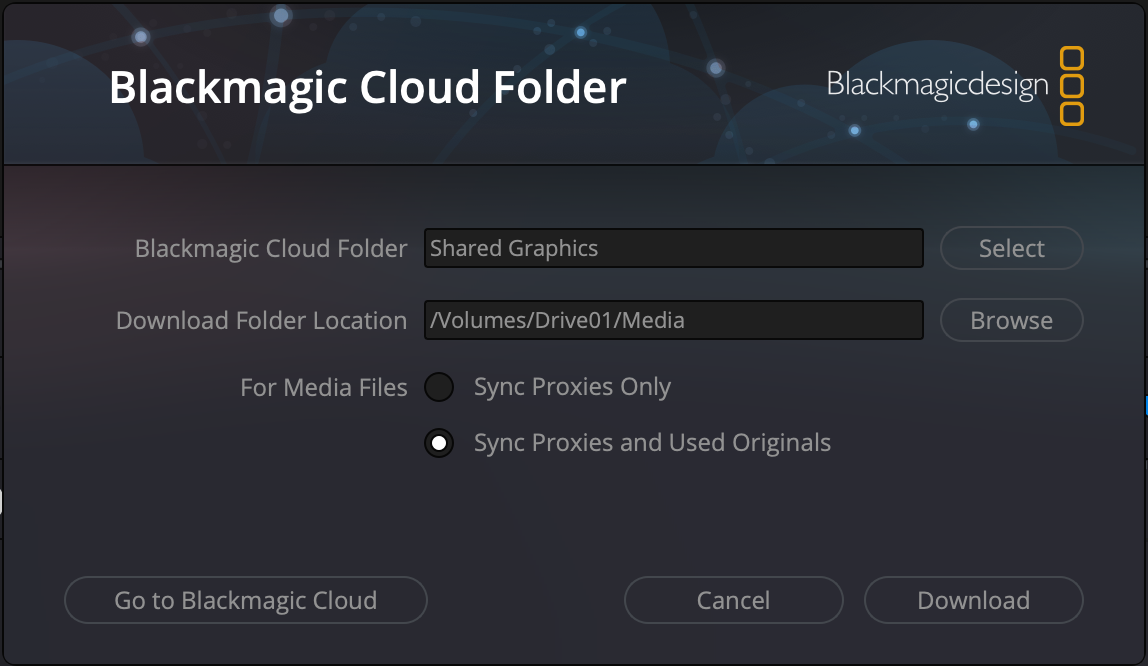
- Click 'download' and the cloud folder will be added to the media pool in your DaVinci Resolve project.
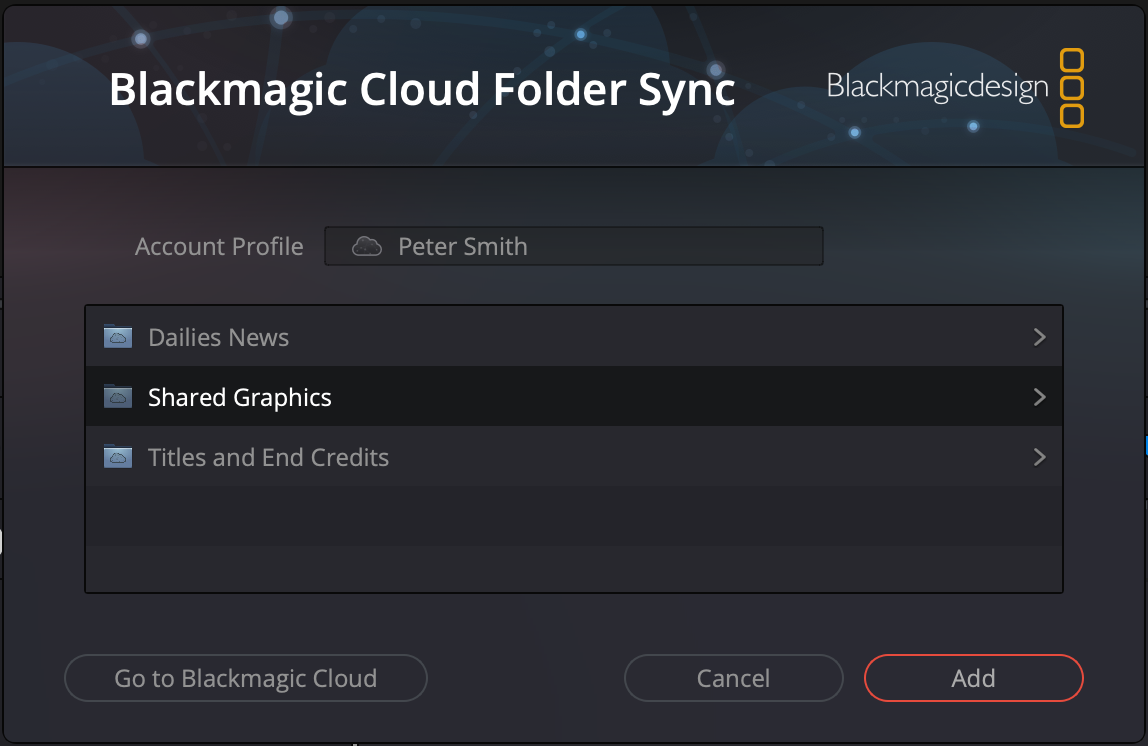
A list of all the available cloud folders that you have access to will be displayed. Click on a folder to select it and click the ‘add’ button.
Select ‘sync proxies only’ or ‘sync proxies and used originals’ from the ‘for media files’ options.
Selecting ‘sync proxies and used originals’ means DaVinci Resolve will only download original media files when they are altered in your DaVinci Resolve project. Altering a file includes adding the clip to a timeline and other actions like applying a flag or altering metadata, for example. Using this option is a good way of making sure you only download the media files you need.