The Cloud Storage Page#
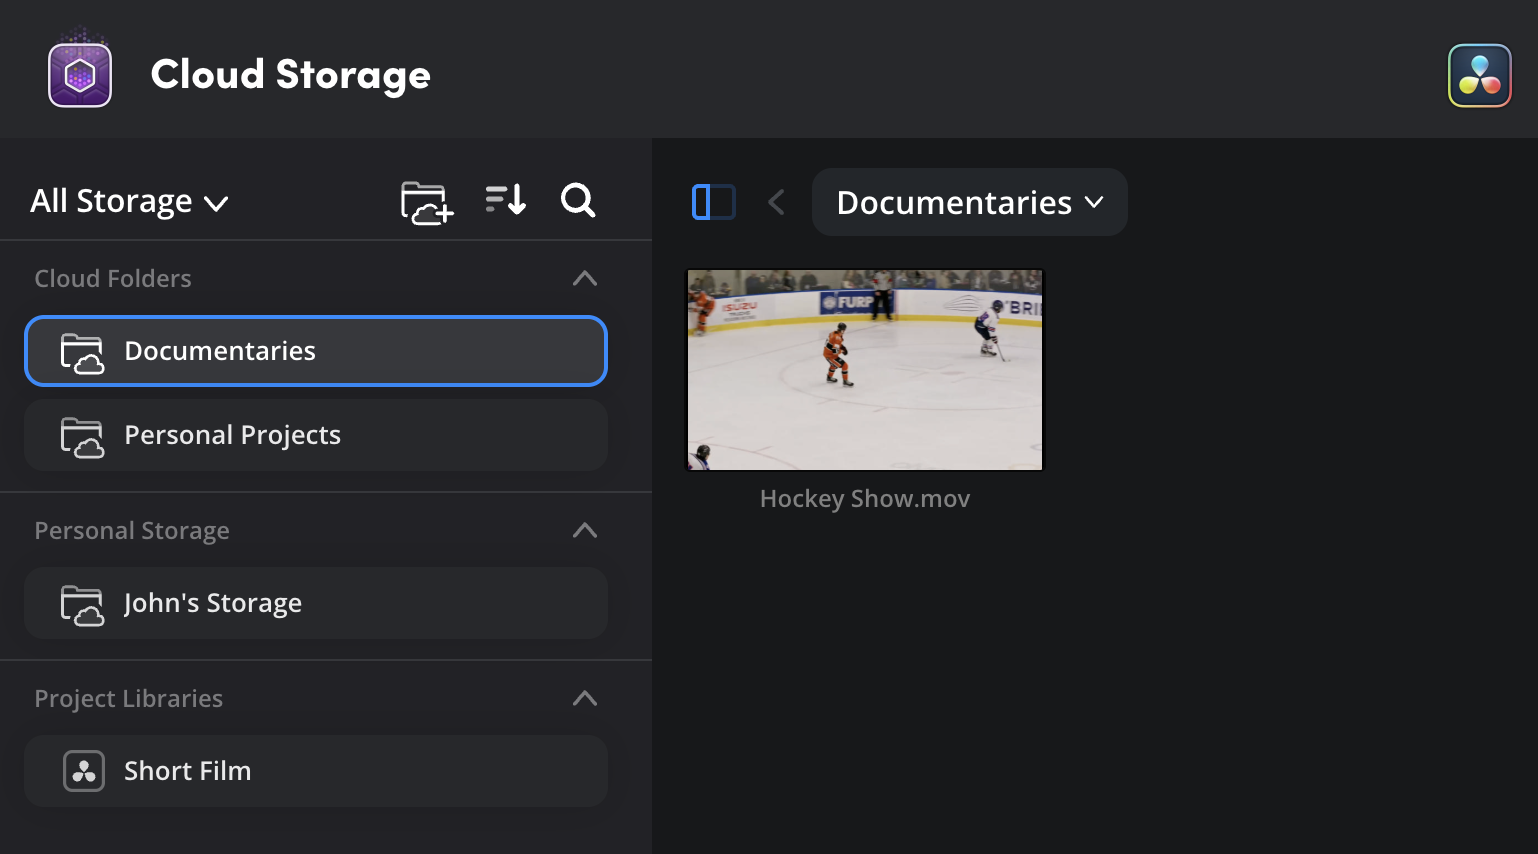
The cloud storage page is divided into three main sections: the storage sidebar on the left, media viewer in the center and information pane on the right.
Storage Sidebar#
The storage sidebar on the left of the page displays your storage spaces, these are divided into ‘cloud folders’, ‘personal storage’ and ‘project libraries’. Click on a folder to display its contents in the media viewer.
Filter#
The storage menu at the top of the storage sidebar lets you filter the different storage types. This can be useful if you are dealing with a large number of folders, or just want to view a particular type of storage, for example media that has been shared with you by other users.
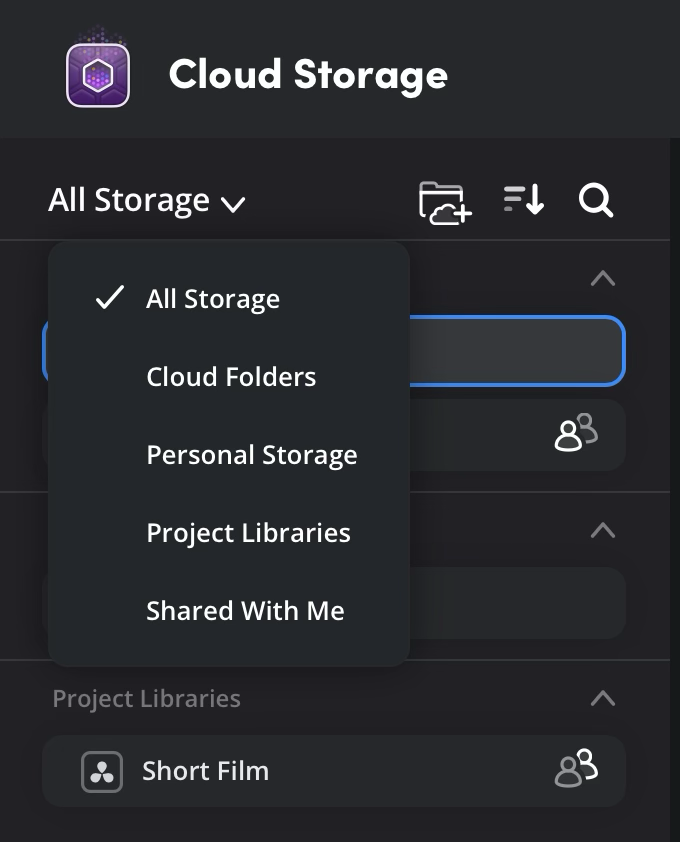
Next to the storage menu, there are controls for searching and sorting folders and projects by name, and for creating new Cloud Folders.
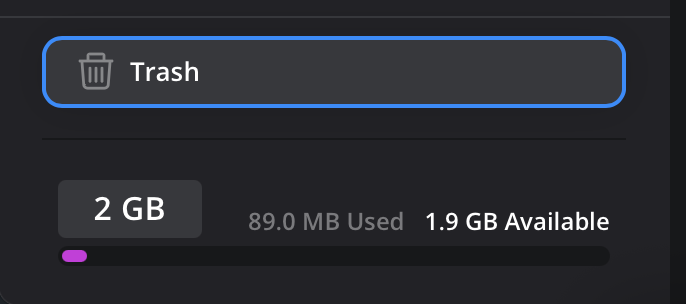
At the bottom of the sidebar you will see the trash folder and a storage space indicator. Click on the ’trash’ to view the contents of the trash. The storage indicator shows you how much space you have used of your available Cloud Storage.
The Media Viewer#
When you select a Cloud Storage space, any sub folders and clips will be displayed in the Media Viewer. From here you can view clip thumbnails, search for clips, and download or delete clips.
Media Viewer Toolbar#
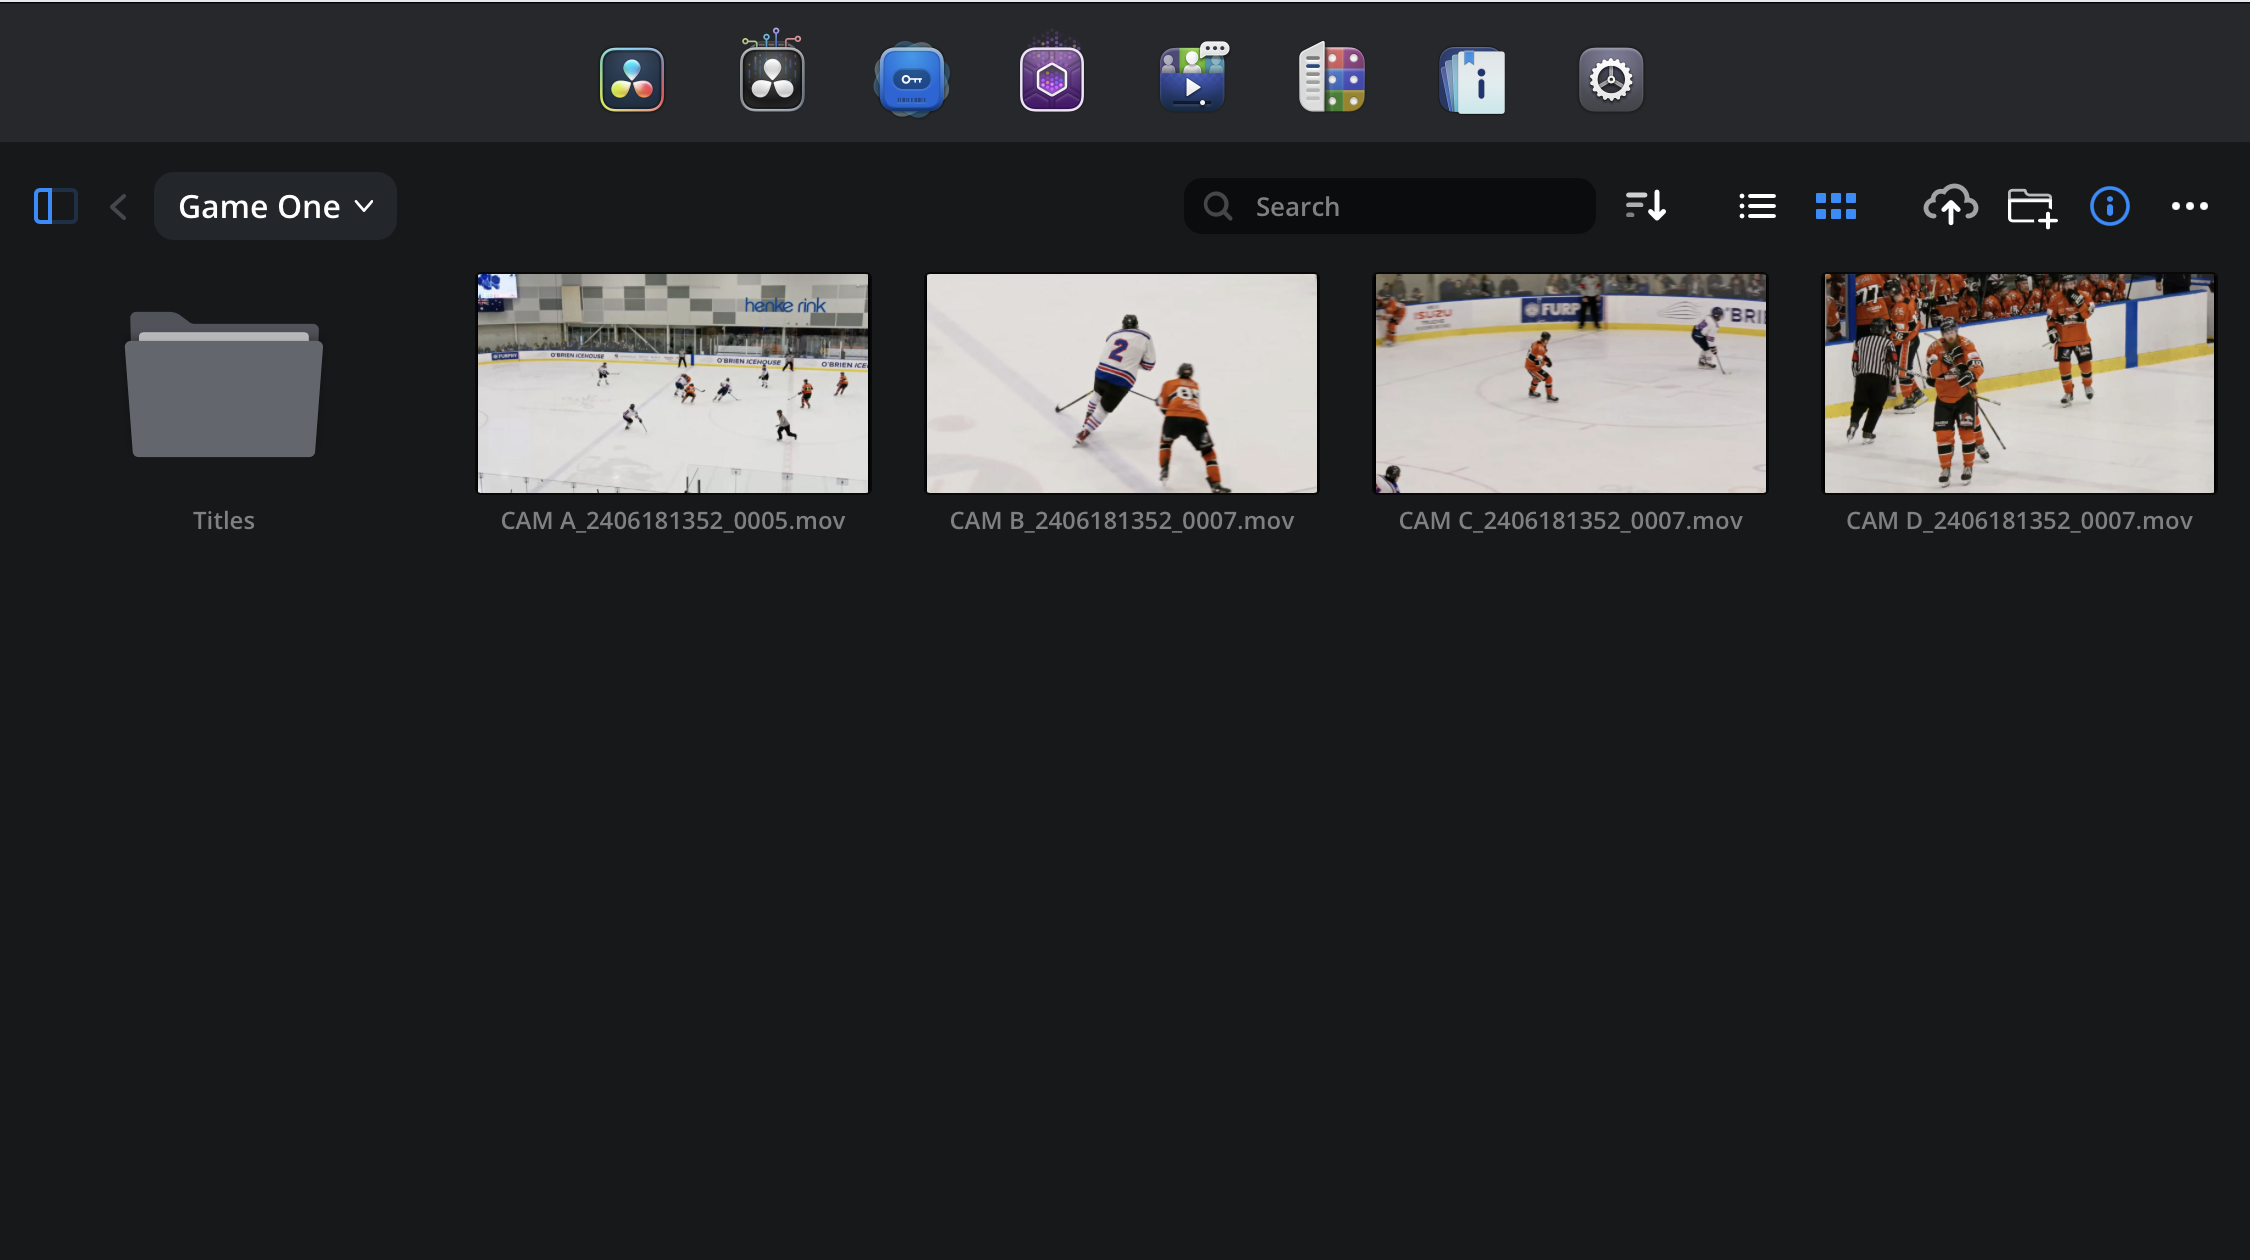
At the top of the media viewer window, a tool bar lets you search and organize clips in the media viewer.

Left Side Bar Panel: Click the icon on the left side of the tool bar to toggle the left storage sidebar on or off.
Back Button: Click this icon to go back one level in the file hierarchy in the media viewer.
Folder Navigation: Click this menu to see all the folder levels, click a folder to view its contents.
Search: Use the search field to search for a file, folder or metadata in the current level.
Sort: The sort menu lets you organize clips in the media viewer based on name, size, date or kind. You can also choose between ascending and descending order.
List and Thumbnail Views: Use these icons to switch between list and thumbnail views.
Upload to Cloud: Click the ‘upload to cloud icon’ to upload files or folders to your Personal Storage, or to a Cloud Folder where you have write permissions.
Add Folder: Click the ‘add folder’ icon to create a new folder in your ‘personal storage’, or in a ‘cloud folder’ where you have write permission.
Information: Click the information icon to toggle the information pane on or off.
Options Menu: The options menu is dynamic and will contain different options depending on the type of storage folder you are working with, or if you are viewing a folder or individual clip. You can use the options menu to download, rename, move and delete files or folders.
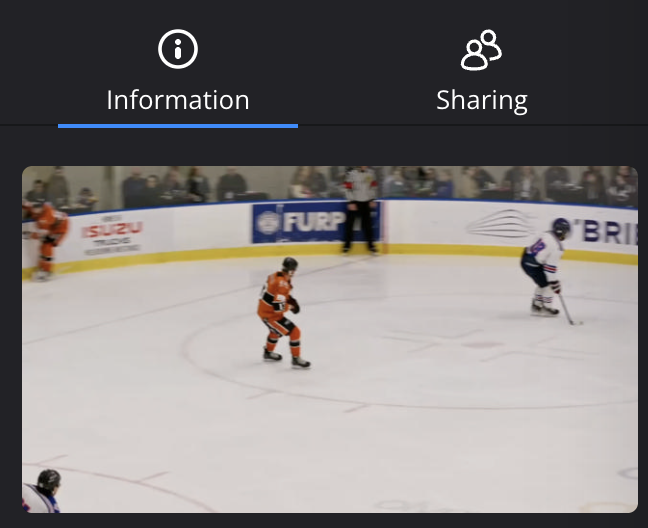
The Information Pane#
The information pane is on the right of the Cloud Storage page and displays information about a folder, project library or clip.
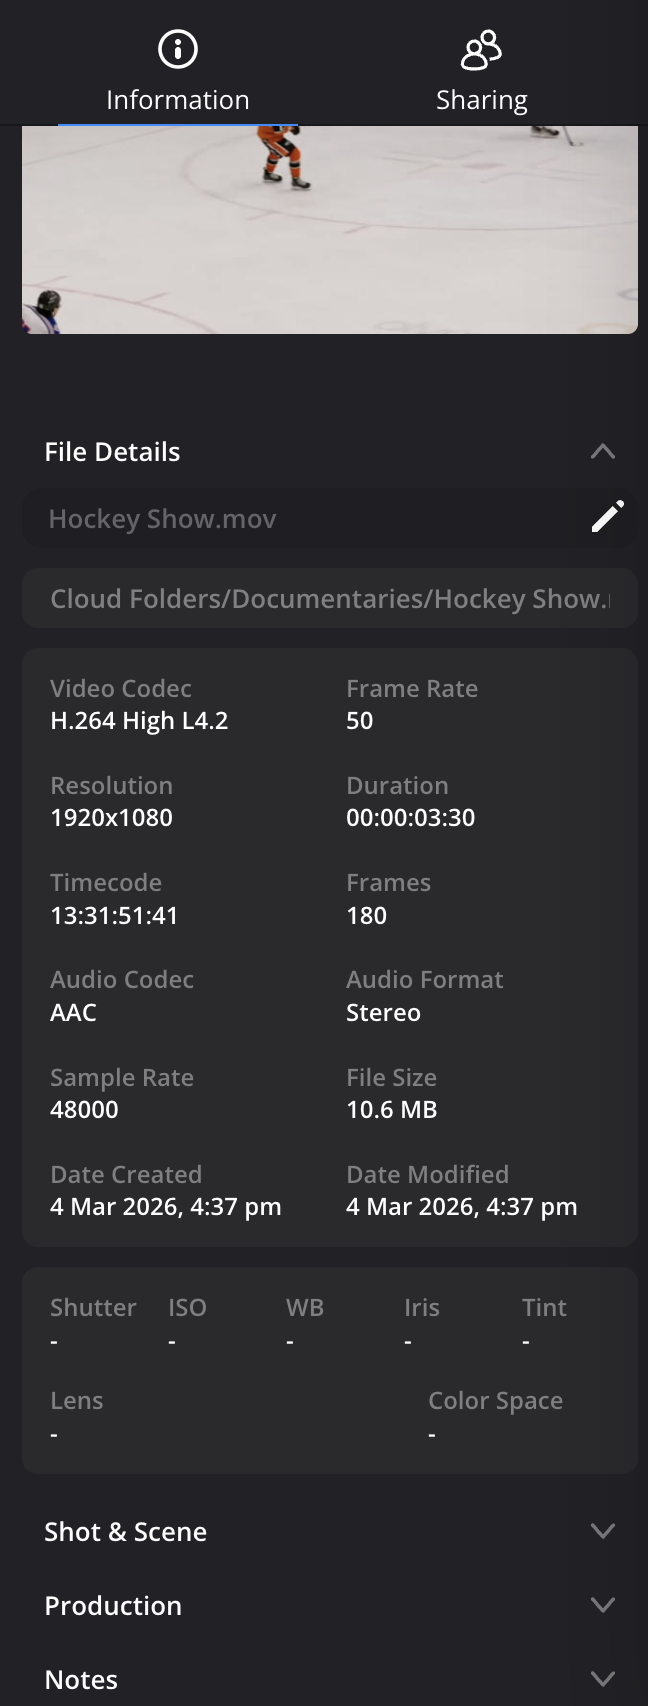
When you select a clip in the media viewer, the large thumbnail at the top of the information pane lets you preview the clip by dragging your mouse to the left and right.
Below the clip thumbnail, the ‘file details’ panel displays the clips metadata information. At the bottom of the information pane, the ‘shot & scene’, ‘production’ and ’notes’ panels display information from the camera’s slate.
Clip thumbnails are processed in the background. If you have recently uploaded a clip, or have clips with long durations, it can take a few minutes for thumbnails to become available.