Syncing with Blackmagic Cloud Store#
Connecting Blackmagic Cloud Store to Blackmagic Cloud lets you share media for a global workflow. You can sync multiple Cloud Folders and Project Libraries to and from Blackmagic Cloud.
Adding Syncs#
The first step to adding syncs is to download and install Blackmagic Cloud Store Setup from the Blackmagic Design support center at www.blackmagicdesign.com/support
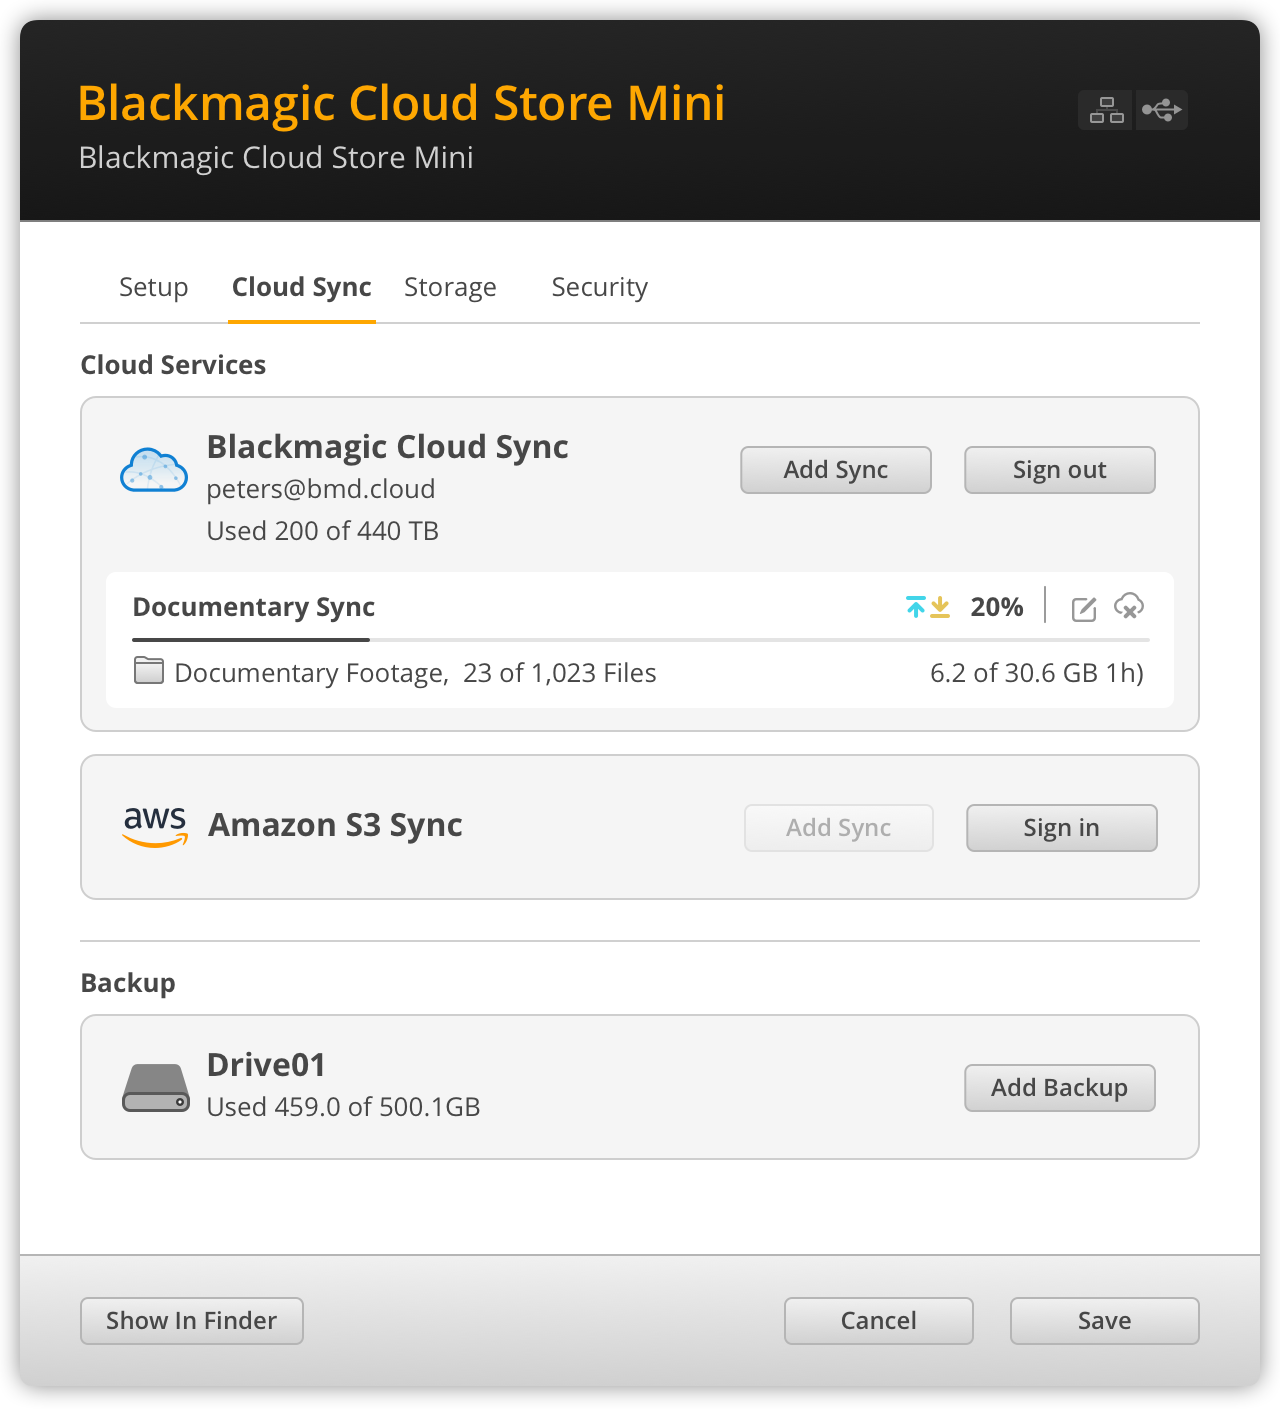
After installing the software, launch Blackmagic Cloud Store Setup and click on the settings icon to open the settings for your cloud store. The sync settings are located in the ‘cloud services’ section of the ‘cloud sync’ tab.
Setting Date and Time#
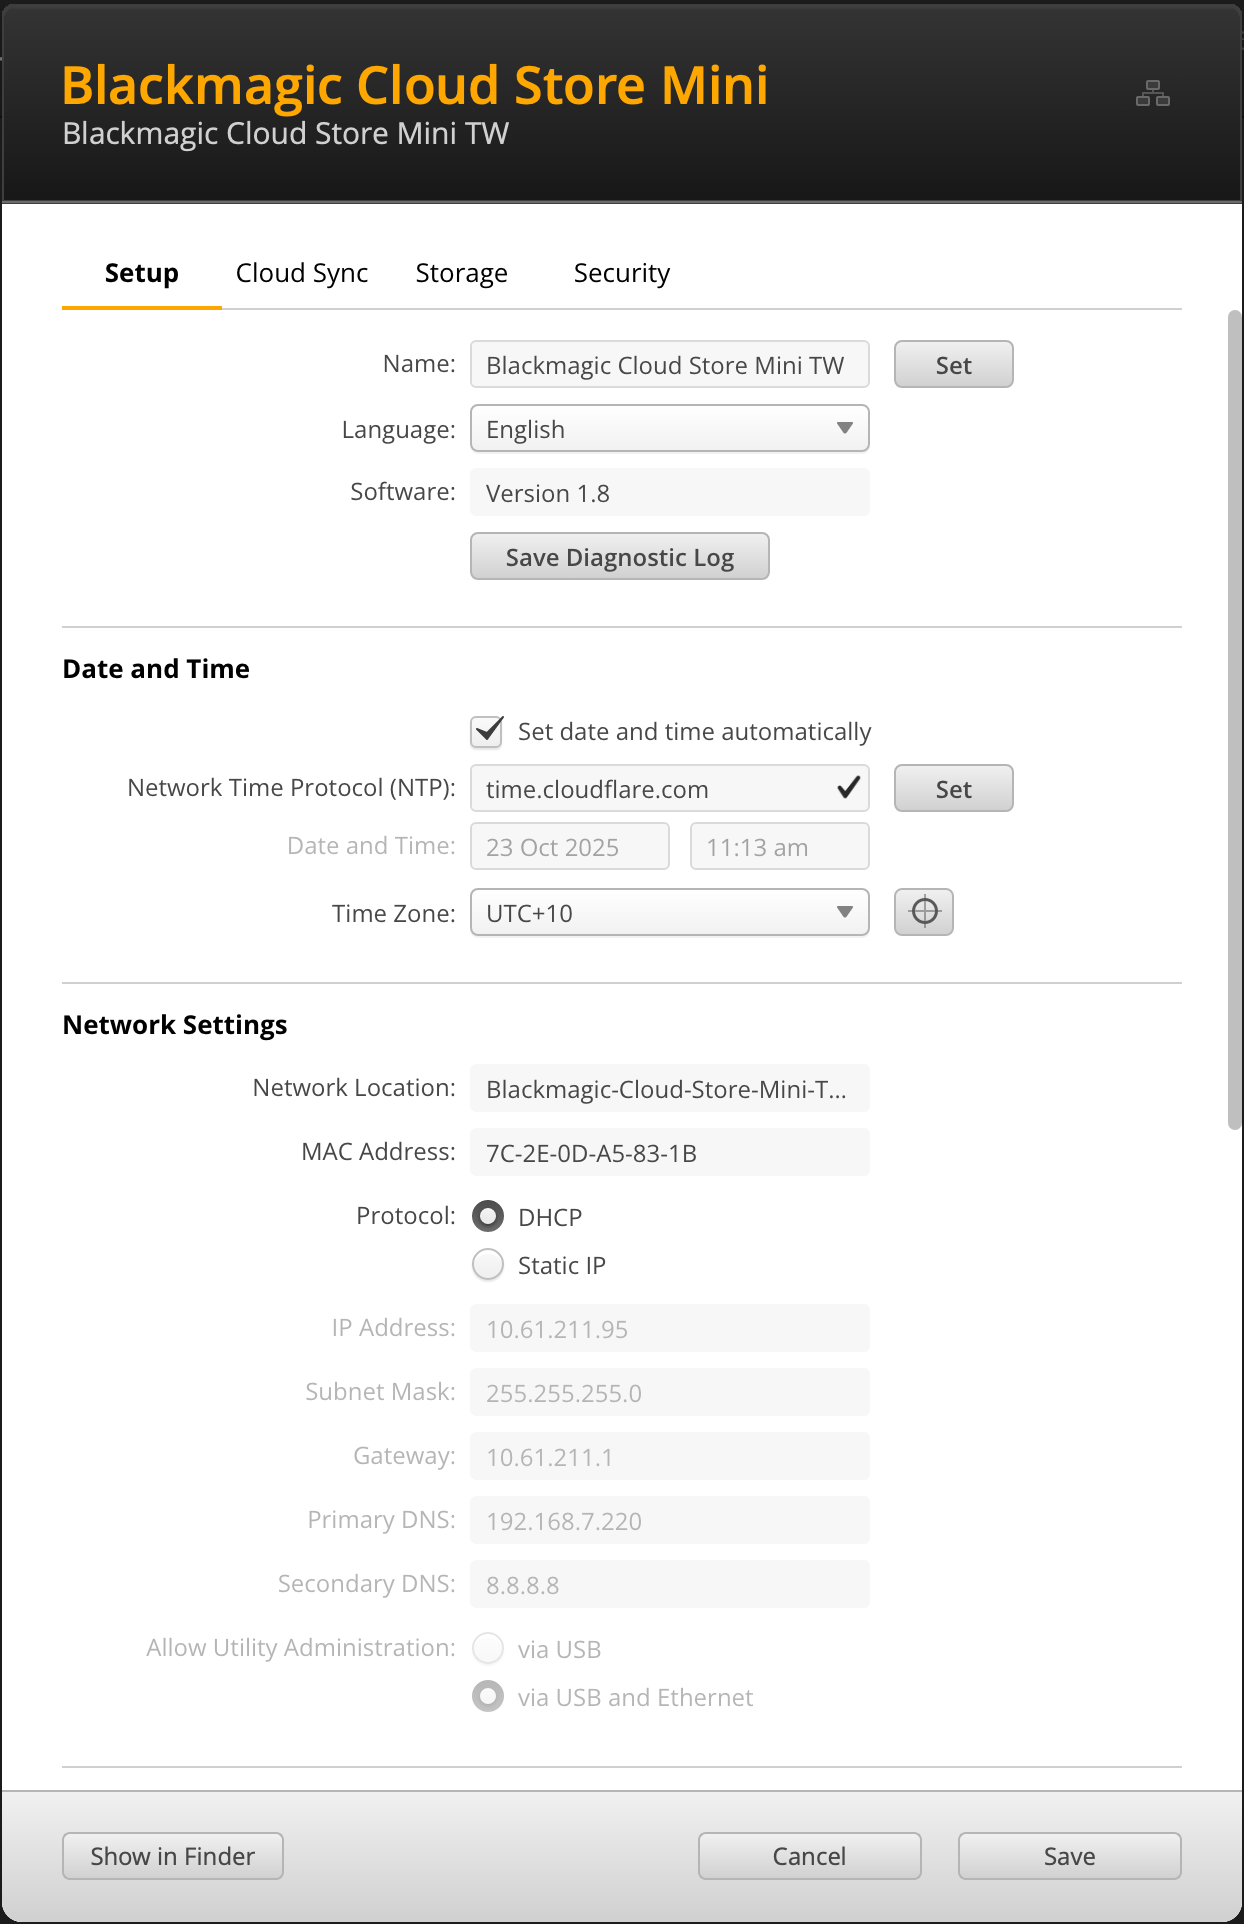
Blackmagic Cloud requires the correct date and time to sync to your Blackmagic Cloud Store. Click the ‘setup’ tab in Blackmagic Cloud Store Setup, click ‘set date and time automatically’ and set ’network time protocol (NTP)’ to ’time.cloudflare.com’.
To sync your Blackmagic Cloud account with Blackmagic Cloud Store all you need to do is sign into your online account using the cloud sync settings, set the folder you want to sync to and set the sync direction.
Signing into Blackmagic Cloud:
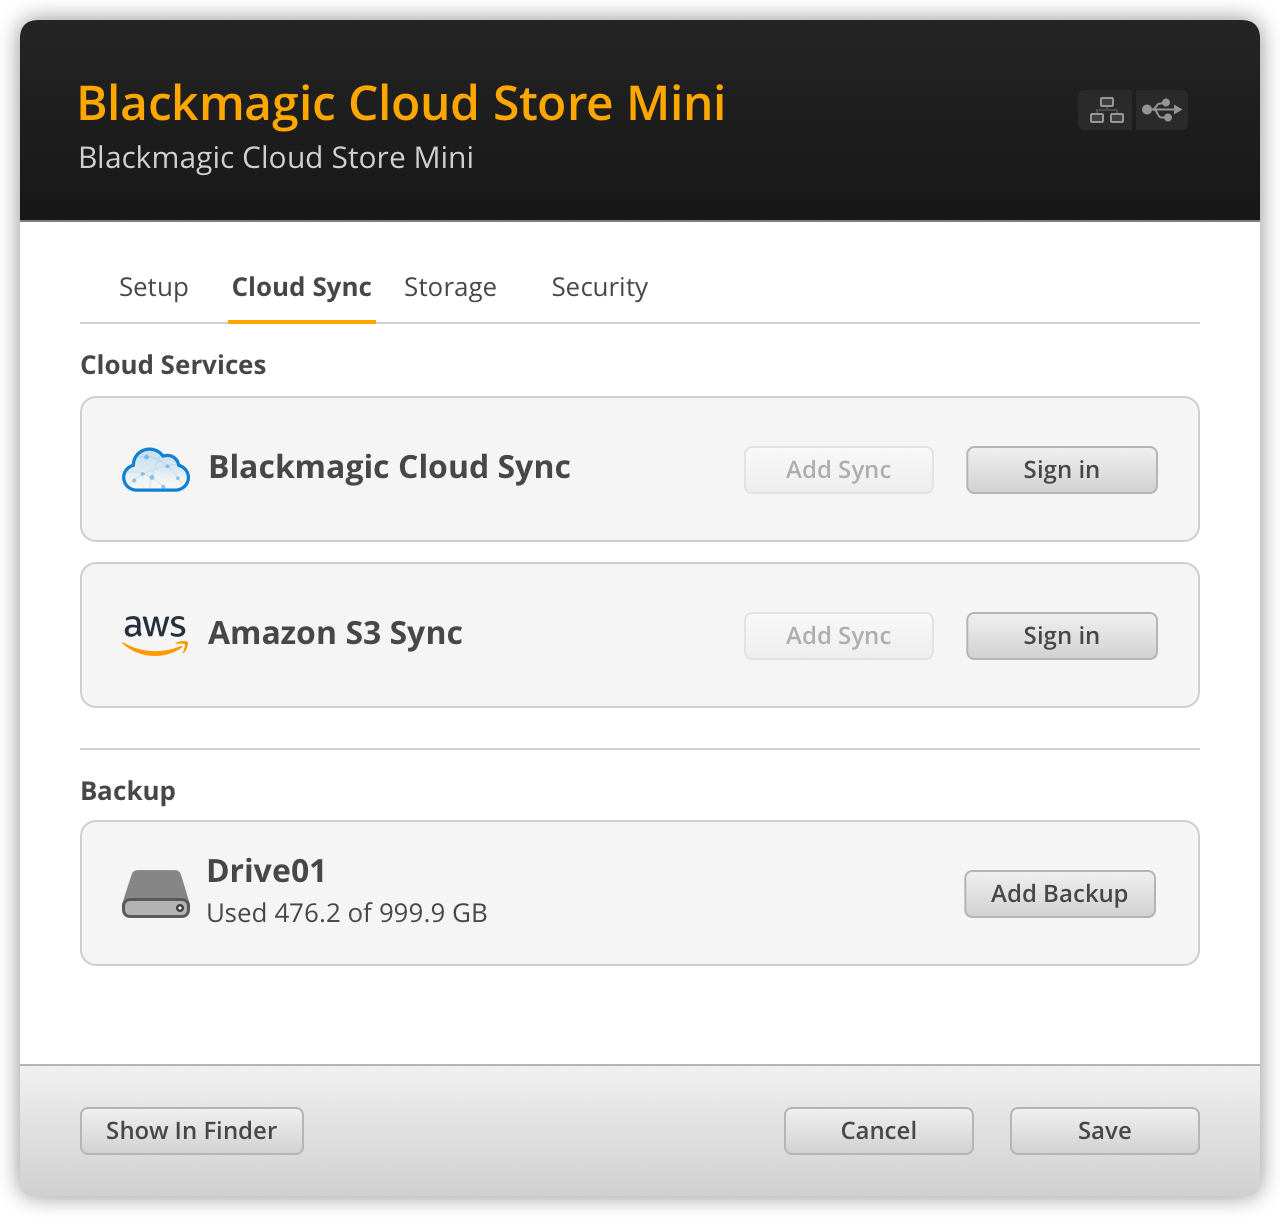
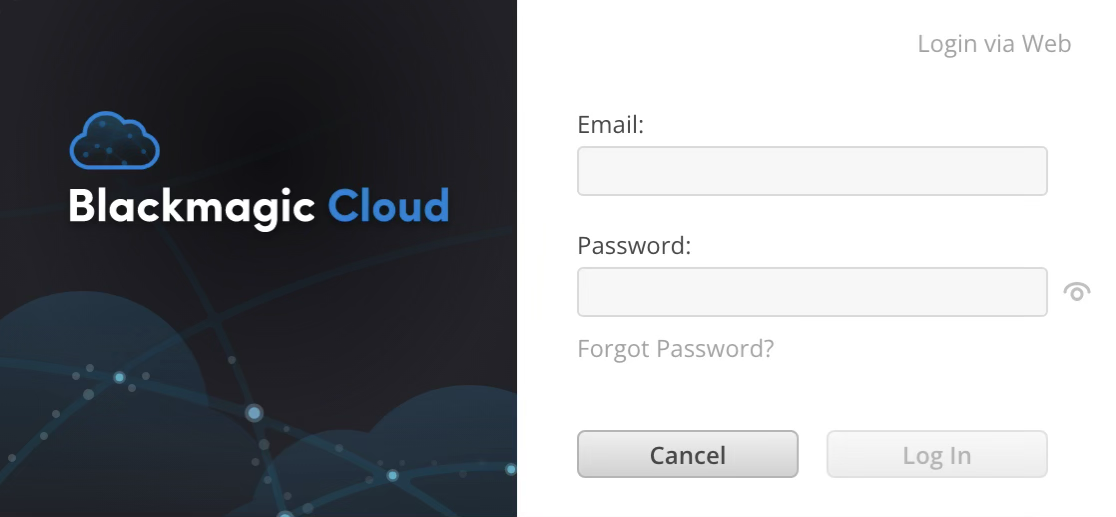
- In the 'cloud sync' tab, click on the 'sign in' button for Blackmagic Cloud. A sign in window will appear.
-
In the sign in window, enter the email address and password associated with your Blackmagic Cloud account and click 'log in'.
If you have two factor authentication enabled in your Blackmagic Cloud’s security settings, you will be prompted to enter the one time code from your authenticator app.
Sync Folder and Direction#
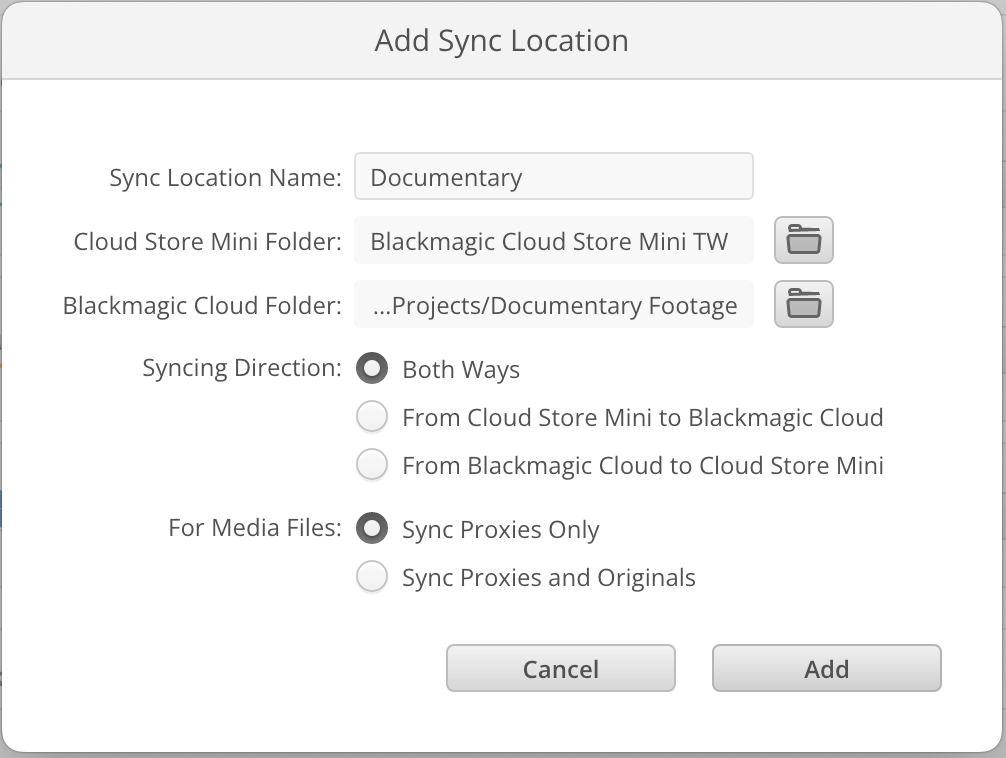
- After signing in, you will see an 'add sync location' window appear in Blackmagic Cloud Setup.
- Name the sync location and click on the folder icons to point to your desired sync folders. These would typically share the same name.
- Select the sync direction. For example, if you want to sync files from your cloud store to Blackmagic Cloud but not from Blackmagic Cloud to your cloud store, select 'from cloud store to Blackmagic Cloud'.
- Click 'add'.
- If you want to add additional sync locations to your account click on the 'add sync' button.
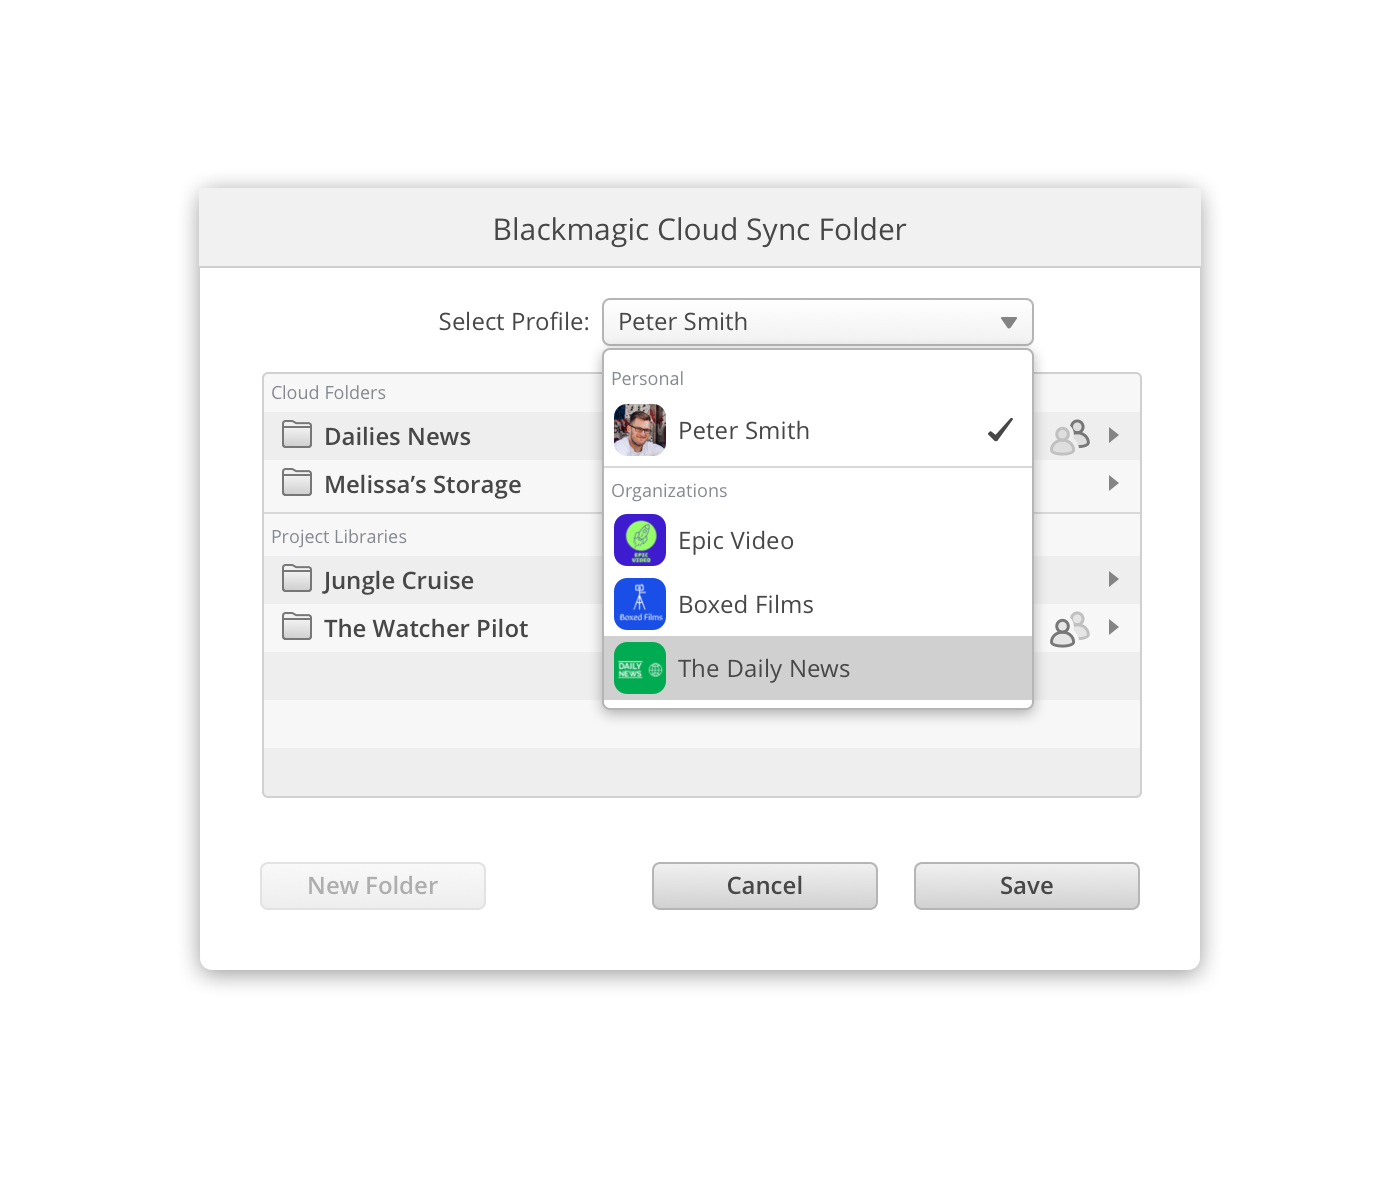
When you choose a Blackmagic Cloud folder, you’ll be taken to your personal account. If you are part of an organization you can use the ‘select profile’ menu at the top of the window to switch between your personal and organization profiles.
Next, choose a sync option for your media files by selecting ‘sync proxies only’ or ‘sync proxies and originals’. This option applies to proxy files created by Blackmagic Proxy Generator, for more information, refer to the full Blackmagic Cloud Store manual.
Your Blackmagic Cloud folder is now synced to your Blackmagic Cloud Store.